One of the main story bosses you have to beat in The Legend of Zelda: Echoes of Wisdom is Mogryph, a giant mole who tries to attack you from underground. This large creature can’t be hit until you lure it into exposing itself. Doing this consistently can be tricky, especially when the boss changes its tactics across three distinct phases.
You encounter Mogryph as you explore the Gerudo Sanctum dungeon, which you need to complete for the “A Rift in Gerudo Desert” main story quest. The new “echoes”dungeon mechanic in Echoes of Wisdom will help you reach Mogryph as you try to preserve your total hearts. Try to overcome enemies in this dungeon without getting hurt so you are prepared to face this boss.
How To Defeat Mogryph (Phases 1 & 2)
Get The Mole To Hit Its Head
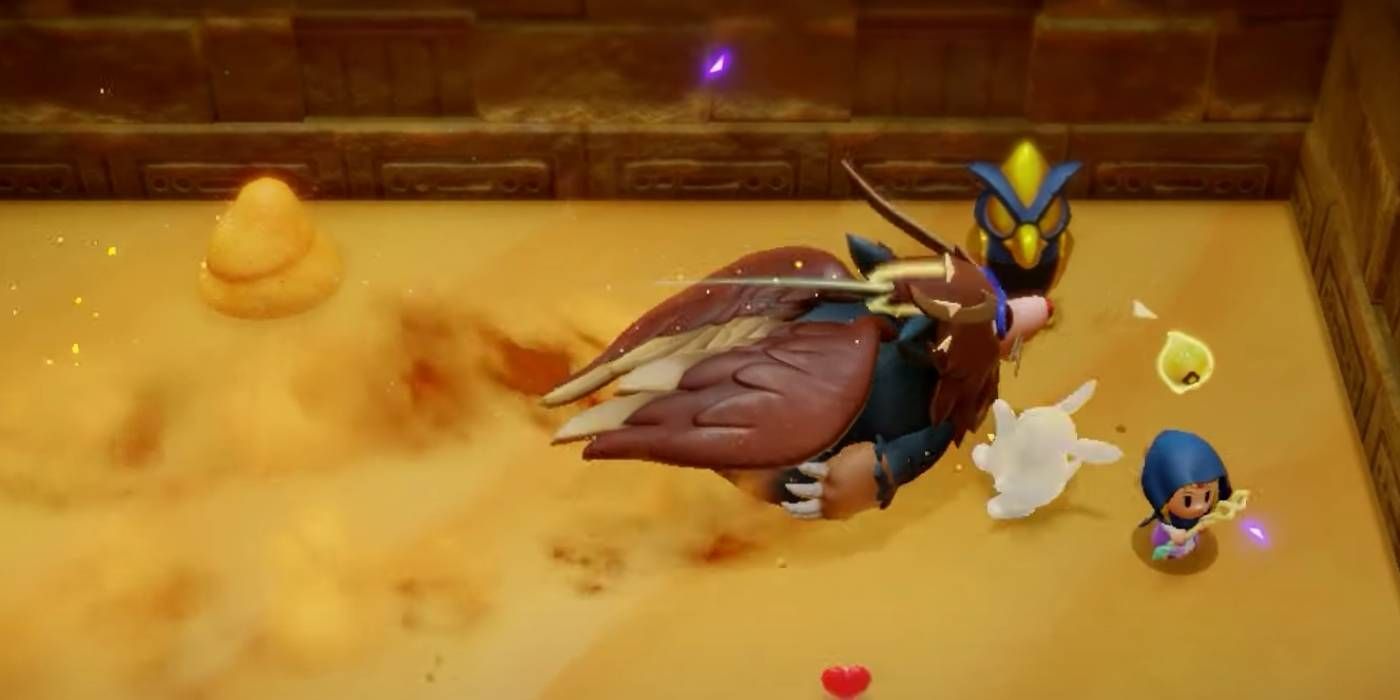
Mogryph is a giant mole, meaning that most of this boss fight consists of it moving underground. You can’t attack Mogryph while it is underground, making this boss fight revolve around forcing the boss to expose itself so you can retaliate. Thankfully, you can always tell where Mogryph is moving due to the line of disrupted sand being created wherever it burrows, allowing you to keep an eye on it.
Mogryph Phase 1 & 2 Move List | ||
|---|---|---|
Attack | Description | How To Counter |
Sand Swipe | Mogryph will rise out of the ground before raising one of its claws back. After doing this, the boss will send a wave of sand toward you, forming an arc projectile that hits you if you are touching any part of it. | The boss targets where you currently are, so watch for when it raises its claw. Then, run diagonally to one side to get out of the projectile’s range. |
Sand Charge | After swimming under the sand, Mogryph will create a pillar of sand before erupting from it. The boss then moves like a drill, charging forward at you for several seconds before returning underground. | Run around the boss arena and lure Mogryph’s charge into one of the statues to stun it. |
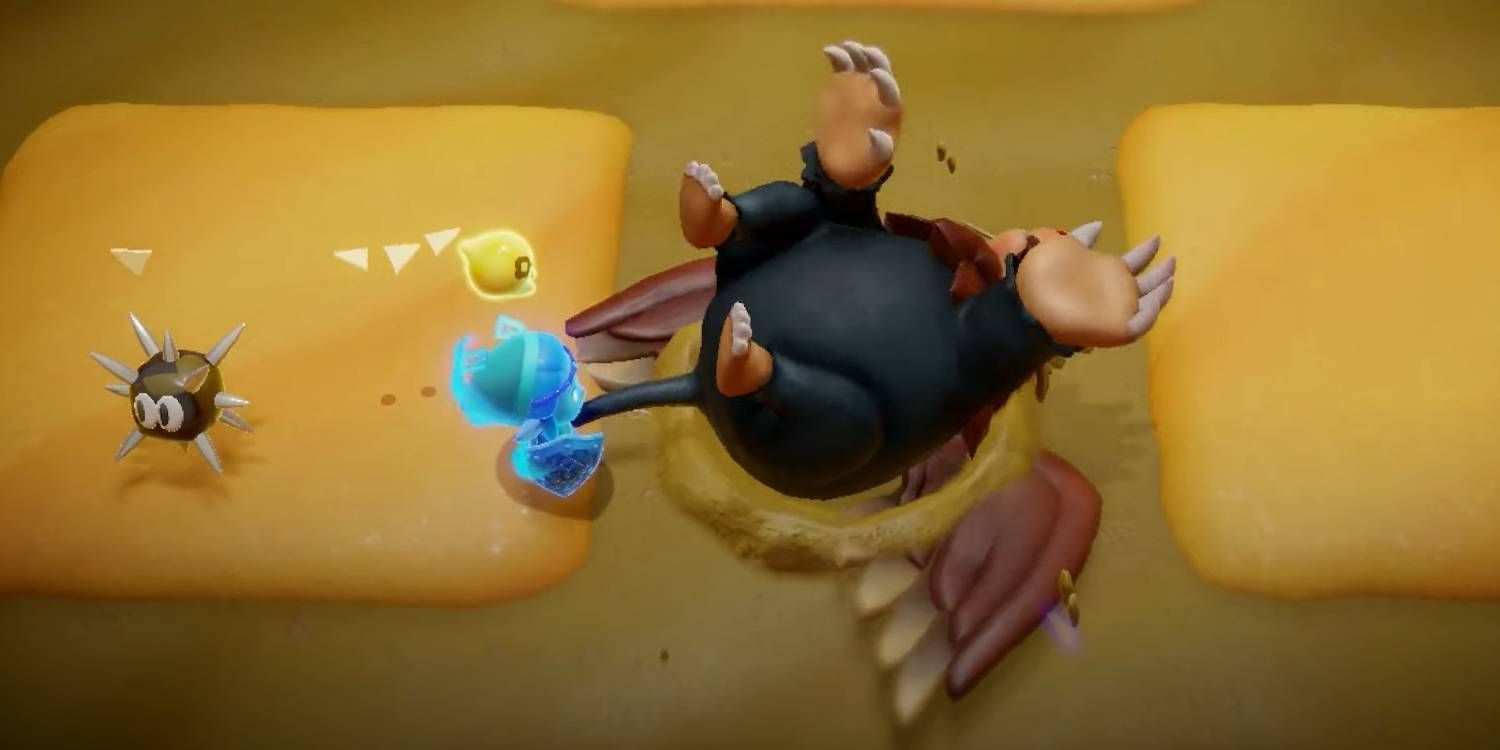
Countering the Sand Charge is the key to the first two phases, as stunning Mogryph will cause it to expose its belly and legs. Once it is staggered this way, go into your Swordfighter form and attack it over and over to deal considerable damage. Any statues or structures in the boss arena can cause Mogryph to hurt its head and expose itself, so try to linger around a larger one to guarantee this situation.
The placements of the statues in the boss arena are the only things that change between phases 1 and 2. You’ll have to reposition to somewhere else to lure Sand Charge a second time, but attacking Mogryph successfully twice will complete the first two phases. Once this has been done, the boss will transition into its final phase by changing the landscape of this final room in the dungeon.
How To Defeat Mogryph (Phase 3)
Navigate The Sinking Area
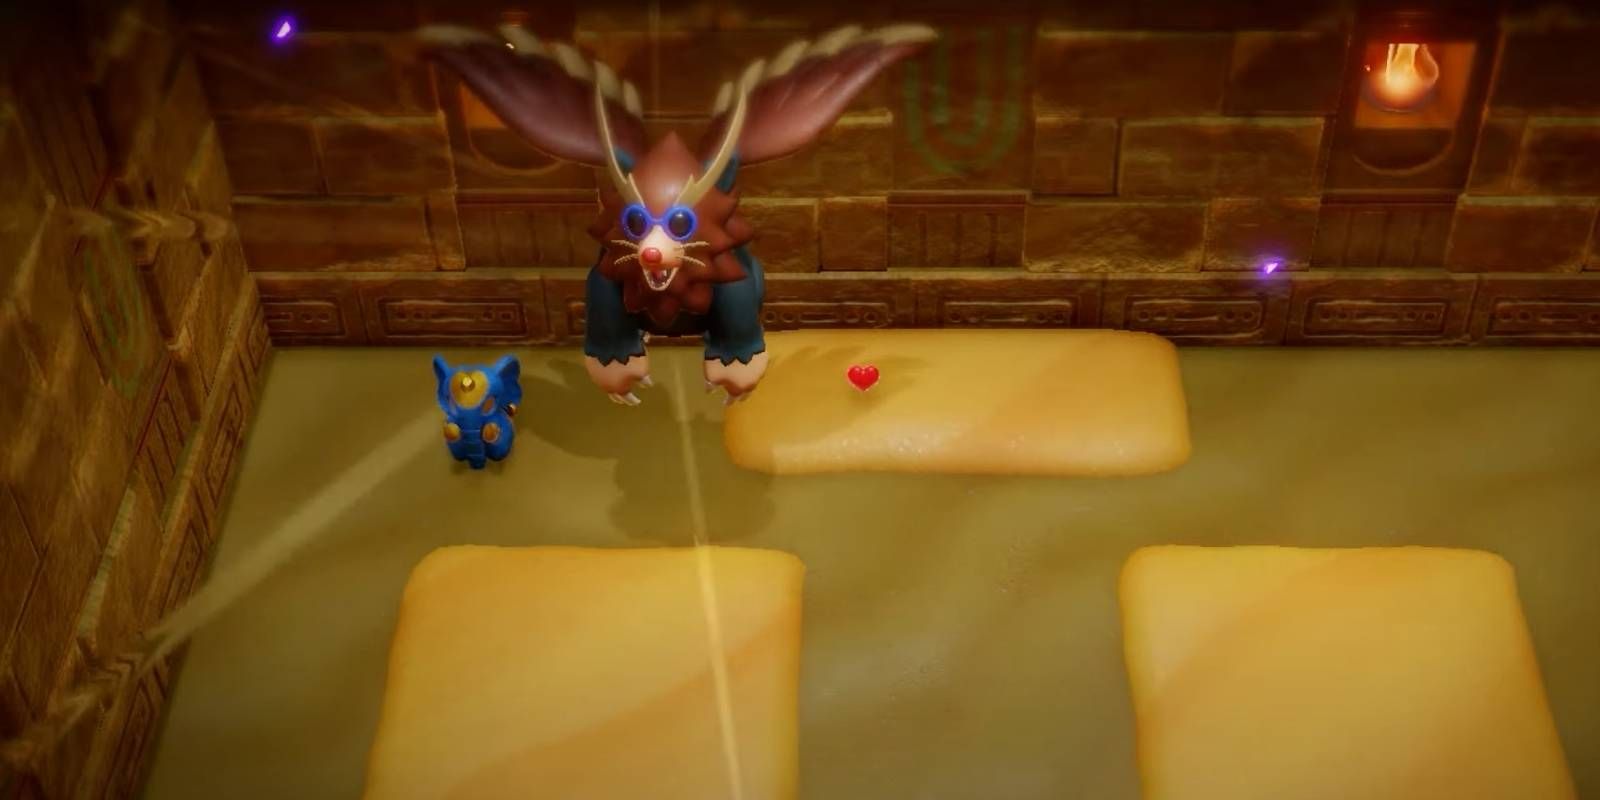
In the last phase of Mogryph’s boss fight, the mole creature sprouts a surprising set of wings that allows it to fly around the area. Additionally, the arena itself will start to sink in quicksand, creating only four small platforms of solid ground. Stepping onto the quicksand will slow you down and even cause you to sink entirely if you don’t move to a safe space quickly.
Although Mogryph uses the same moves from Phases 1 & 2, they gain new attacks to match their new form, which include:
Mogryph Phase 3 Move List | ||
|---|---|---|
Attack | Description | How To Counter |
Sand Tornados | Mogryph flies into the air, creating several tornados made of sand traveling across the arena. | Each tornado made by the boss moves slowly, never tracking you. Move to a corner or edge of the area to avoid the range of this new projectile. |
Quicksand Leap | Diving underground from the sky, Mogryph swims around before jumping out of the sand toward your location. | Move away from the ripple in the ground, indicating where Mogryph is going to leap from. This is easier to do if you aren’t in the quicksand. |
To overcome this phase, you need to use your Statue Echoes power to place one of the structures in the area before. As you can see in the video below by YouTube creator Release-Fire, doing this during Mogryph’s Quicksand Leap attack will trick it into concussing itself again. You can also do this as Mogryph is about to dive into the sand by watching its shadow from where it’s flying.
Throwing a rock at the spot where the quicksand ripples during the Quicksand Leap attack will also do the trick. Hitting Mogryph like this will cause it to expose itself again, giving you another chance to unleash attacks using the Swordfighter form. Expose and attack Mogryph two times during phase 3 to defeat it once and for all.
Rewards For Beating Mogryph
Gain Greater Vitality For Adventures Ahead
Some may argue that the best reward for beating Mogryph is the ability to progress further into the game’s story. However, you also receive a Heart Container for beating the boss, which should not be confused with a smaller Heart Piece. Similar to Heart Containers in other Zelda games, a full Container raises your total health.
Normally, you would have to collect four Heart Pieces to form one Container, but the significance of Mogryph’s boss fight relates to this larger reward. Those who beat Mogryph also clear the Gerudo Sanctum dungeon, leading to an important decision tied with what location they will have to clear next in The Legend of Zelda: Echoes of Wisdom.
Source: Release-Fire/YouTube


