In Elden Ring, there are dozens of optional dungeons and catacombs to explore for a variety of rewards. Some of these dungeons can be quite simple to complete, while others contain puzzles and labyrinth-type mazes to conquer. One of these dungeons is the Giants’ Mountaintop Catacombs, which can disorient players by making them traverse similar sets of rooms multiple times in a row.
The Giants’ Mountaintop Catacombs is the first dungeon the Tarnished will encounter on their way through the Mountaintops of the Giants. It is located just past the Zamor Ruins before crossing the first Great Chain Bridge. Once you have reached the dungeon entrance, a message will appear that states, “The Beast Eye quivers,” letting the player know that a piece of Deathroot lies at the end of the catacombs.
Catacombs First Section
Just Warming Up
Upon entering the Giants’ Mountaintop Catacombs, you can equip the lantern if needed and make your way down the steps and into the first room. An imp will attack from the end of the hall, where two more imps will be lying in wait. After taking them out, head down the stairs to the north to find two more imps blocking the hallway. Proceed down this hallway, taking out the imps as you go, until you turn left and find the first elevator. This will take you down to the boss door, but it won’t open until the hidden lever is pulled.
Take a left when you find the boss door and head south down the steps. There will be two imps on either side of the hallway that will each throw Magic Pots at the Tarnished. After defeating these enemies, keep on moving south until you reach the second elevator, which will take the Tarnished further down into the Labyrinth.
Catacombs Second Section
Avoid Trapped Rooms
After reaching the bottom of the second elevator and proceeding south, you will see a room with a statue. A Warrior Jar will jump down and attack the Tarnished, which the player can bait out. After slaying the Warrior Jar, look up above the statue to see another statue on the level above, which is where the hidden lever is. In order to reach that upper level, make your way west from the statue up the stairs, but be careful of the Frostbite darts that will fire from the end of the hallway.
The next room to the south will contain dropping blades that need to be navigated through, while carefully dodging the explosive jar enemies. There will be a room that contains seemingly nothing in it, so backtrack and head up the stairs to the east to progress. Run through the hallway filled with Land Squirts that can be defeated by poison and continue north up the stairs. Ignore the room to the north and drop down the hole in the wall to the West. This will drop the Tarnished into a new area next to a Nascent Butterfly, above a room that looks very similar to the statue room from before.
Catacombs Third Section
Haven’t I Been Here Before?
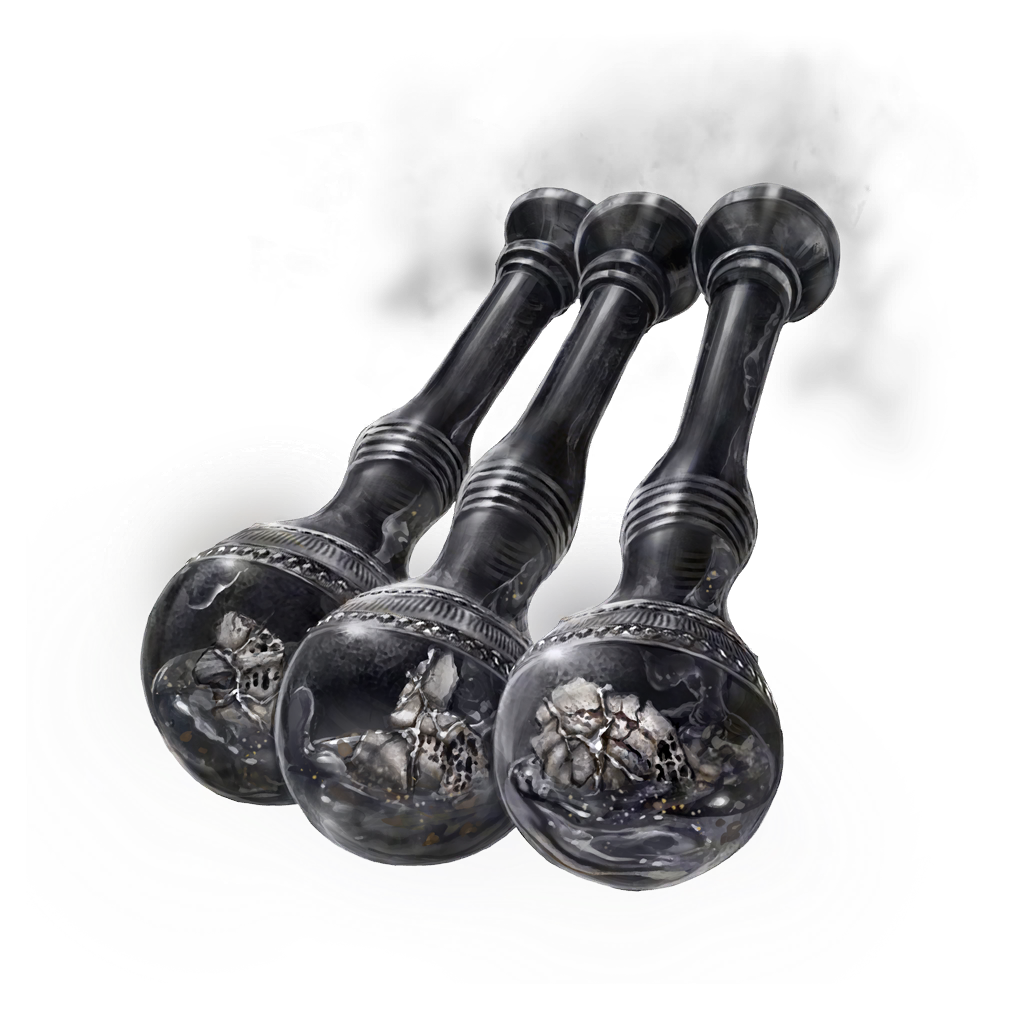
Drop next to the statue and get your bearings, as there will be a path to the west and a path to the north. This next set of rooms will look just like what was just traversed in order to make the player think they are lost. First, head to the west and avoid the Frostbite trap before making it to the next dropping blades room. Avoid the traps once again and slay the Warrior Jar at the southern end of the hall. This Warrior Jar will use an  Ironjar Aromatic, that can also be used by the Tarnished with the correct Cookbook. Continue up the stairs to the east to find another hallway with a Warrior Jar at the end.
The Warrior Jar will use an Ironjar Aromatic, which will make it resistant to Physical attacks and Poise breaks.
Use the pressure plate on the ground and quickly get out of the way to send Frostbite bolts at the Warrior Jar, which will take it out easily. Drop down the second hole in the wall to return to the beginning of this section in order to reach the elevator to the north. Instead of riding this elevator up, activate it to discover a hole in the ground to where the dungeon continues, guarded by another Warrior Jar.
Catacombs Fourth Section
The Ulcerated Tree Spirit
After dropping and taking out the Warrior Jar, head south to find the hidden lever. Don’t drop down until you pull the lever or you will have to navigate through the dungeon again. Make your way north to the elevator to ride back up to the now-unlocked door in order to fight the dungeon’s boss. The boss will be an Ulcerated Tree Spirit, which has been encountered numerous times throughout the game before this point.
If you are still having trouble finding your way through this maze, refer to SweetJohnnyCage’s walkthrough video above.
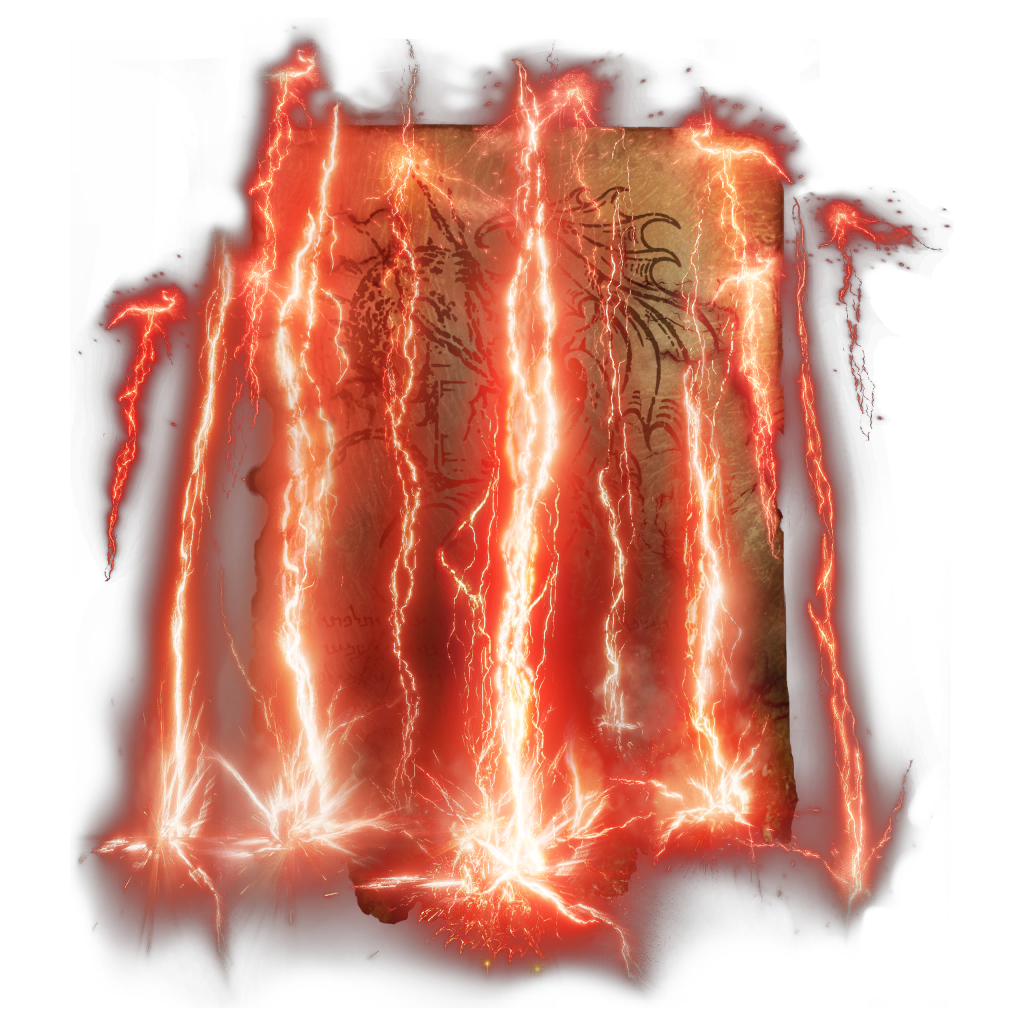
The best way to take out an Ulcerated Tree Spirit is with Fire damage and Poise breaks, so the Blasphemous Blade Strength/Faith build is an excellent choice for bringing this boss down quickly. The spell  Ancient Dragons’ Lightning Strike is also an easy way to deal massive damage and break the poise of the Ulcerated Tree Spirit.
Defeating this boss will reward the Tarnished with the first Golden Seed of the area, as well as a piece of Deathroot that can be brought to Gurranq, The Beast Clergyman. With this dungeon out of the way, it’s time to explore the rest of the Mountaintops in Elden Ring.
Video Credit: SweetJohnnyCage/YouTube


