
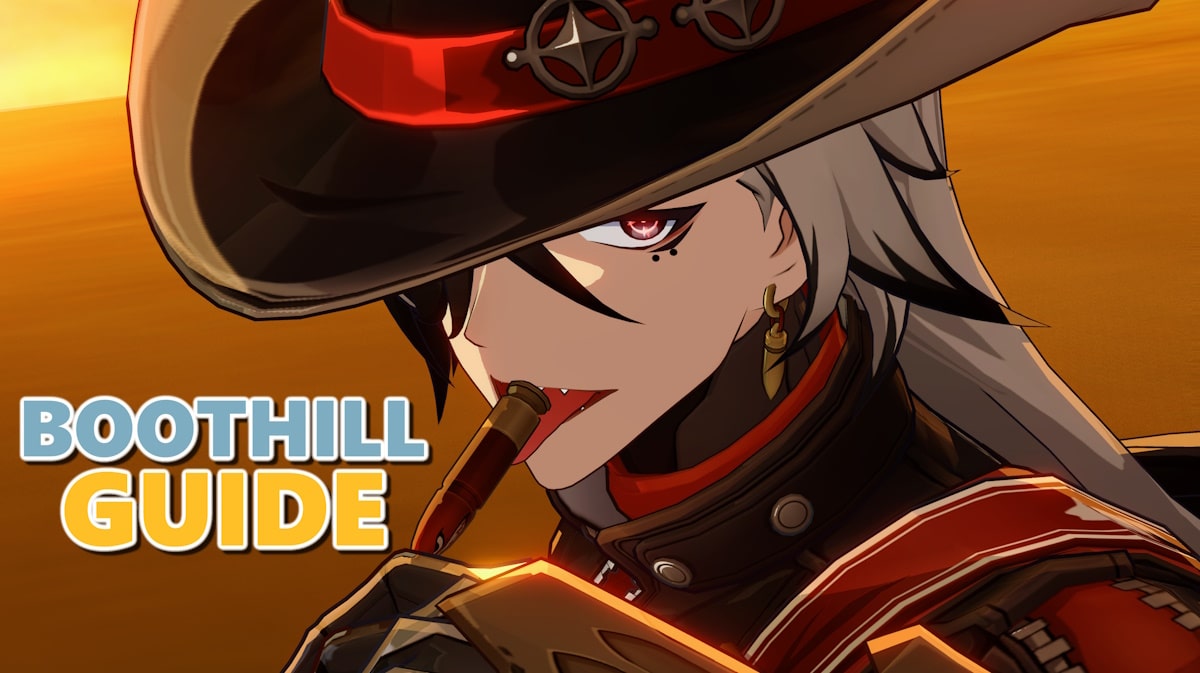
Boothill is a 5-star Physical Hunt character whose voice we first heard in Version 2.1. This Galaxy Ranger is now making his way to Penacony. Should you get him, or plan on getting him, then here’s our Honkai Star Rail guide on the best build for Boothill, from his Light Cones to his Relics and more.
Honkai Star Rail Guide – Boothill Light Cones and Relics Build
Do note that this guide is for the currently available or immediately upcoming Light Cones and Relics. Should new sets of Light Cones and Relics appear in Honkai Star Rail that are better for Boothill, we will be sure to update this guide.
Boothill Abilities Overview
We already talked about Boothill’s abilities in a separate article. However, for this guide let’s go through them quickly.
Boothill is a 5-Star Physical hunt character. Much like other members of the path of the Hunt, Boothill specializes in dealing a huge amount of damage to a single target at a time. This makes him perfect for taking down bosses who are weak to Physical damage.
His Basic Attack, Skullcrush Spurs, deals Physical DMG to a single target. His Skill, Sizzlin’ Tango, puts Boothill and his targeted enemy into a Standoff state. This empowers his Basic Attack, turning it into Fanning the Hammer. Additionally, Boothill and the enemy both receive increased DMG, while also taunting the enemy to Boothill.
Fanning the Hammer, Boothill’s empowered Basic Attack, deals more Toughness Reduction the more Pocket Trickshot stacks he has. Additionally, if the attack breaks the enemy’s toughness, Boothill will also deal more Break DMG based on the amount of Pocket Trickshot stacks he has.
Boothill gains one stack of Pocket Trickshot whenever he defeats or Toughness Breaks the enemy he is currently in a Standoff with.
Boothill’s Ultimate, Dust Devil’s Sunset Rodeo, applies Physical Weakness to a single target. Afterward, he deals a large amount of Physical Damage, while also delaying the enemy’s action by 45%.
Boothill Traces Priority
When leveling his traces, focus on leveling his Ultimate first, to increase the total damage that it deals. Follow this up with his Basic ATK, As it also increases the damage that Fanning the Hammer does. Next comes his Skill, which increases the DMG enemies in Standoff takes. Finally, level his Talent, since it buffs Pocket Trickshot’s bonus DMG.
As for the Major Traces, it’s enough to get them in order. That is, get Ghost Load first, then Above Snakes, and finally Point Blank.
Boothill Light Cones Guide
All values given hise are at maximum Superimposed.
Sailing Towards A Second Life: Increases the wearer’s Break Effect by 100%. The Break DMG dealt by the wearer ignores 32% of the target’s DEF. When the wearer’s Break Effect in battle is at 150% or greater, increases their SPD by 20%.
This is Boothill’s signature Light Cone, as well as his best in slot Light Cone. Boothill’s damage primarily comes from his Break DMG, so increasing his Break Effect is always a good idea. Additionally, thanks to his Ghost Load Trace, his CRIT Rate/DMG increases by 10%/50% of his Break Effect, so this synergizes with that as well.
Additionally, the other effects are good, including the DEF pierce for his Break DMG, as well as the increased Speed thanks to easily meeting the 150% Break Effect requirement.
Cruising in the Stellar Sea: Increases the wearer’s CRIT rate by 16%, and increases their CRIT rate against enemies with HP less than or equal to 50% by an extra 16%. When the wearer defeats an enemy, their ATK is increased by 40% for 2 turn(s).
This Light Cone is a decent F2P Light Cone for Boothill thanks to its 5-star stats, as well as how it’s available with some farming. The increased CRIT Rate helps Boothill deal increased damage, while also increasing his damage output after defeating an enemy.
This Light Cone, however, is situational. If the enemy that Boothill is fighting is alone, or does not summon mobs, then the 40% ATK increase is basically useless, turning this into a CRIT Rate Light Cone instead. This is not ideal, so players should adjust depending on what Boothill will be fighting.
Swordplay: For each time the wearer hits the same target, DMG dealt increases by 16%, stacking up to 5 time(s). This effect will be dispelled when the wearer changes targets.
This is a great F2P Light Cone for Boothill thanks to how his skill works. Since Boothill will likely be attacking the same enemy over and over again, it’s easy to hit max stacks with the light cone, giving him up to 80% increased DMG dealt.
The only downside with this Light Cone is, of course, its 4-Star stats, which may leave Boothill a little wanting in terms of base stats.
Only Silence Remains: Increases the wearer’s ATK by 32%. If there are 2 or fewer enemies on the field, increases wearer’s CRIT Rate by 24%.
This is another F2P Light Cone for Boothill, albeit a little more situational. This Light Cone gives him an unconditional 32% ATK increase, which is good. As for the secondary effect, players will have to whittle the enemy down to meet the requirements for the 24% Crit Rate.
Boothill Relics Guide
4-piece Thief of Shooting Meteor
- Increases Break Effect by 16%.
- Increases the wearer’s Break Effect by 16%. After the wearer inflicts Weakness Break on an enemy, regenerates 3 Energy.
As of Version 2.2, this is the best Relic Set for Boothil thanks to its 32% Break Effect total. Additionally, the 3 Energy regen will help Boothill charge his Ultimate, since he does not gain energy from using his Skill or his Empowered Basic Attack.
2-piece Thief of Shooting Meteor & 2-piece Watchmaker, Master of Dream Machinations
- Increases Break Effect by 16%.
- Increases Break Effect by 16%.
This is basically the same as Thief of Shooting Meteor, other than the fact that it doesn’t regenerate Energy when Boothill Weakness Breaks an enemy. If the player is still farming Relics for Boothill, but already have pieces of this set, then it is a decent stopgap until the player gets the pieces they want.
2-piece Talia: Kingdom of Banditry
- Increases the wearer’s Break Effect by 16%. When the wearer’s SPD reaches 145 or higher, the wearer’s Break Effect increases by an extra 20%.
For Planar Ornaments, Talia: Kingdom of Banditry is arguably the best Relic set for Boothill. This is thanks to the 36% Break Effect that it gives him when he reaches 145 SPD. Of course, this means players will need to roll for Speed substate, but that shouldn’t be a problem.
For Relic Main Stats, aim for Crit DMG% for the Body, Speed or ATK% for the Boots, ATK% or Physical DMG Bonus for the Sphere, and Break Effect for the Rope. For substats, do your best to reach at least 300% Break Effect, then get SPD, ATK%, and CRIT Rate and DMG.
Boothill Team Guide
Boothill excels in teams that empower Break Effect, as well as teams that can buff him to either deal more damage, or improve his Toughness Break Efficiency.
As such, here is a possible team compositions for Boothill:
Boothill Hyperccarry: Boothill, Ruan Mei, Imaginary Harmony Trailblazer, Gallagher
As mentioned above, teams that revolve around Weakness Breaking enemies are the best for Boothill, and this is that. Ruan Mei’s Skill improves her allies’ DMG, while also increasing their Weakness Break Efficiency. Harmony Trailblazer, on the other hand, improves her team’s Break Effect.
Lastly, Gallagher’s Ultimate increases the Break DMG that enemies take. This makes it possible for Boothill to deal huge amounts of damage on enemies when he breaks their Toughness.
Of course, if the player does not have Ruan Mei, other Buffers that increase his damage can also be plugged in. Possible characters include Tingyun (who can also help charge his Ultimate) and Huohuo.
These team compositions are just suggestions. It is up to the player how they want to use Boothill.
That’s all for our guide on Boothill’s best Light Cones and Relics build in Honkai Star Rail. Boothill will be available for drawing once Phase 2 of Version 2.2 goes live. Players interested in getting him must make sure to roll during said banner. Check out our gaming news articles for the latest in gaming news.